Peyton Project - Kitchen
Part 2


9/30/23
Our Vintage Inspired Kitchen Renovation: Part 2
Inspiration, design, and process behind the Mac home kitchen!

Continuing our huge kitchen renovation on a budget, and I'm so excited to share the progress with you!
Custom Ductless Range Hood
Let's face it, standard range hoods can guzzle your budget faster than a toddler with a juice box. So, we got resourceful and whipped up our own using [link to IKTCH 41.73" 900 CFM Ductless Insert Range Hood on Wayfair]. We repurposed an old cabinet and some leftover drywall scraps (love a good material repurpose!), then used [link to DAP Plaster of Paris on Home Depot] to smooth everything out like magic. It wasn't the easiest feat, but with a little teamwork and elbow grease, we transformed that salvaged cabinet into a sleek, faux-ducted showstopper. Now, our kitchen can breathe (literally and figuratively) without blowing the budget!
We followed a recipe to an authentic venetian plaster method. Here's what you'll need to replicate our magic:
IKTCH 41.73" 900 CFM Ductless Insert Range Hood in Silver [link to Wayfair] (This powerful little beast will handle all your culinary creations with ease!)
Drywall scraps and lumber (Raid your leftover pile or grab some inexpensive boards at your local home improvement store.)
DAP Plaster of Paris [link to Home Depot] (Channel your inner Michelangelo and sculpt that frame to perfection!)
Golden Harvest Universal Wheat Paste [link to Home Depot] (Because glue is for amateurs, wheat paste is where it's at for this project.)
A healthy dose of creativity and elbow grease (Trust me, you'll need both!)
Pro Tip: Don't be intimidated by the DIY aspect! If we can do it, anyone can. Just remember, measure twice, cut once, and embrace the happy accidents along the way.
Welcome back to our epic kitchen renovation on a budget journey! In Part 2, we're getting down and dirty with some seriously transformative projects that won't break the bank. Next on the agenda? Crafting a custom ductless range hood, conquering that backsplash, and prepping for the grand finale – paint day! Buckle up, it's about to get exciting.
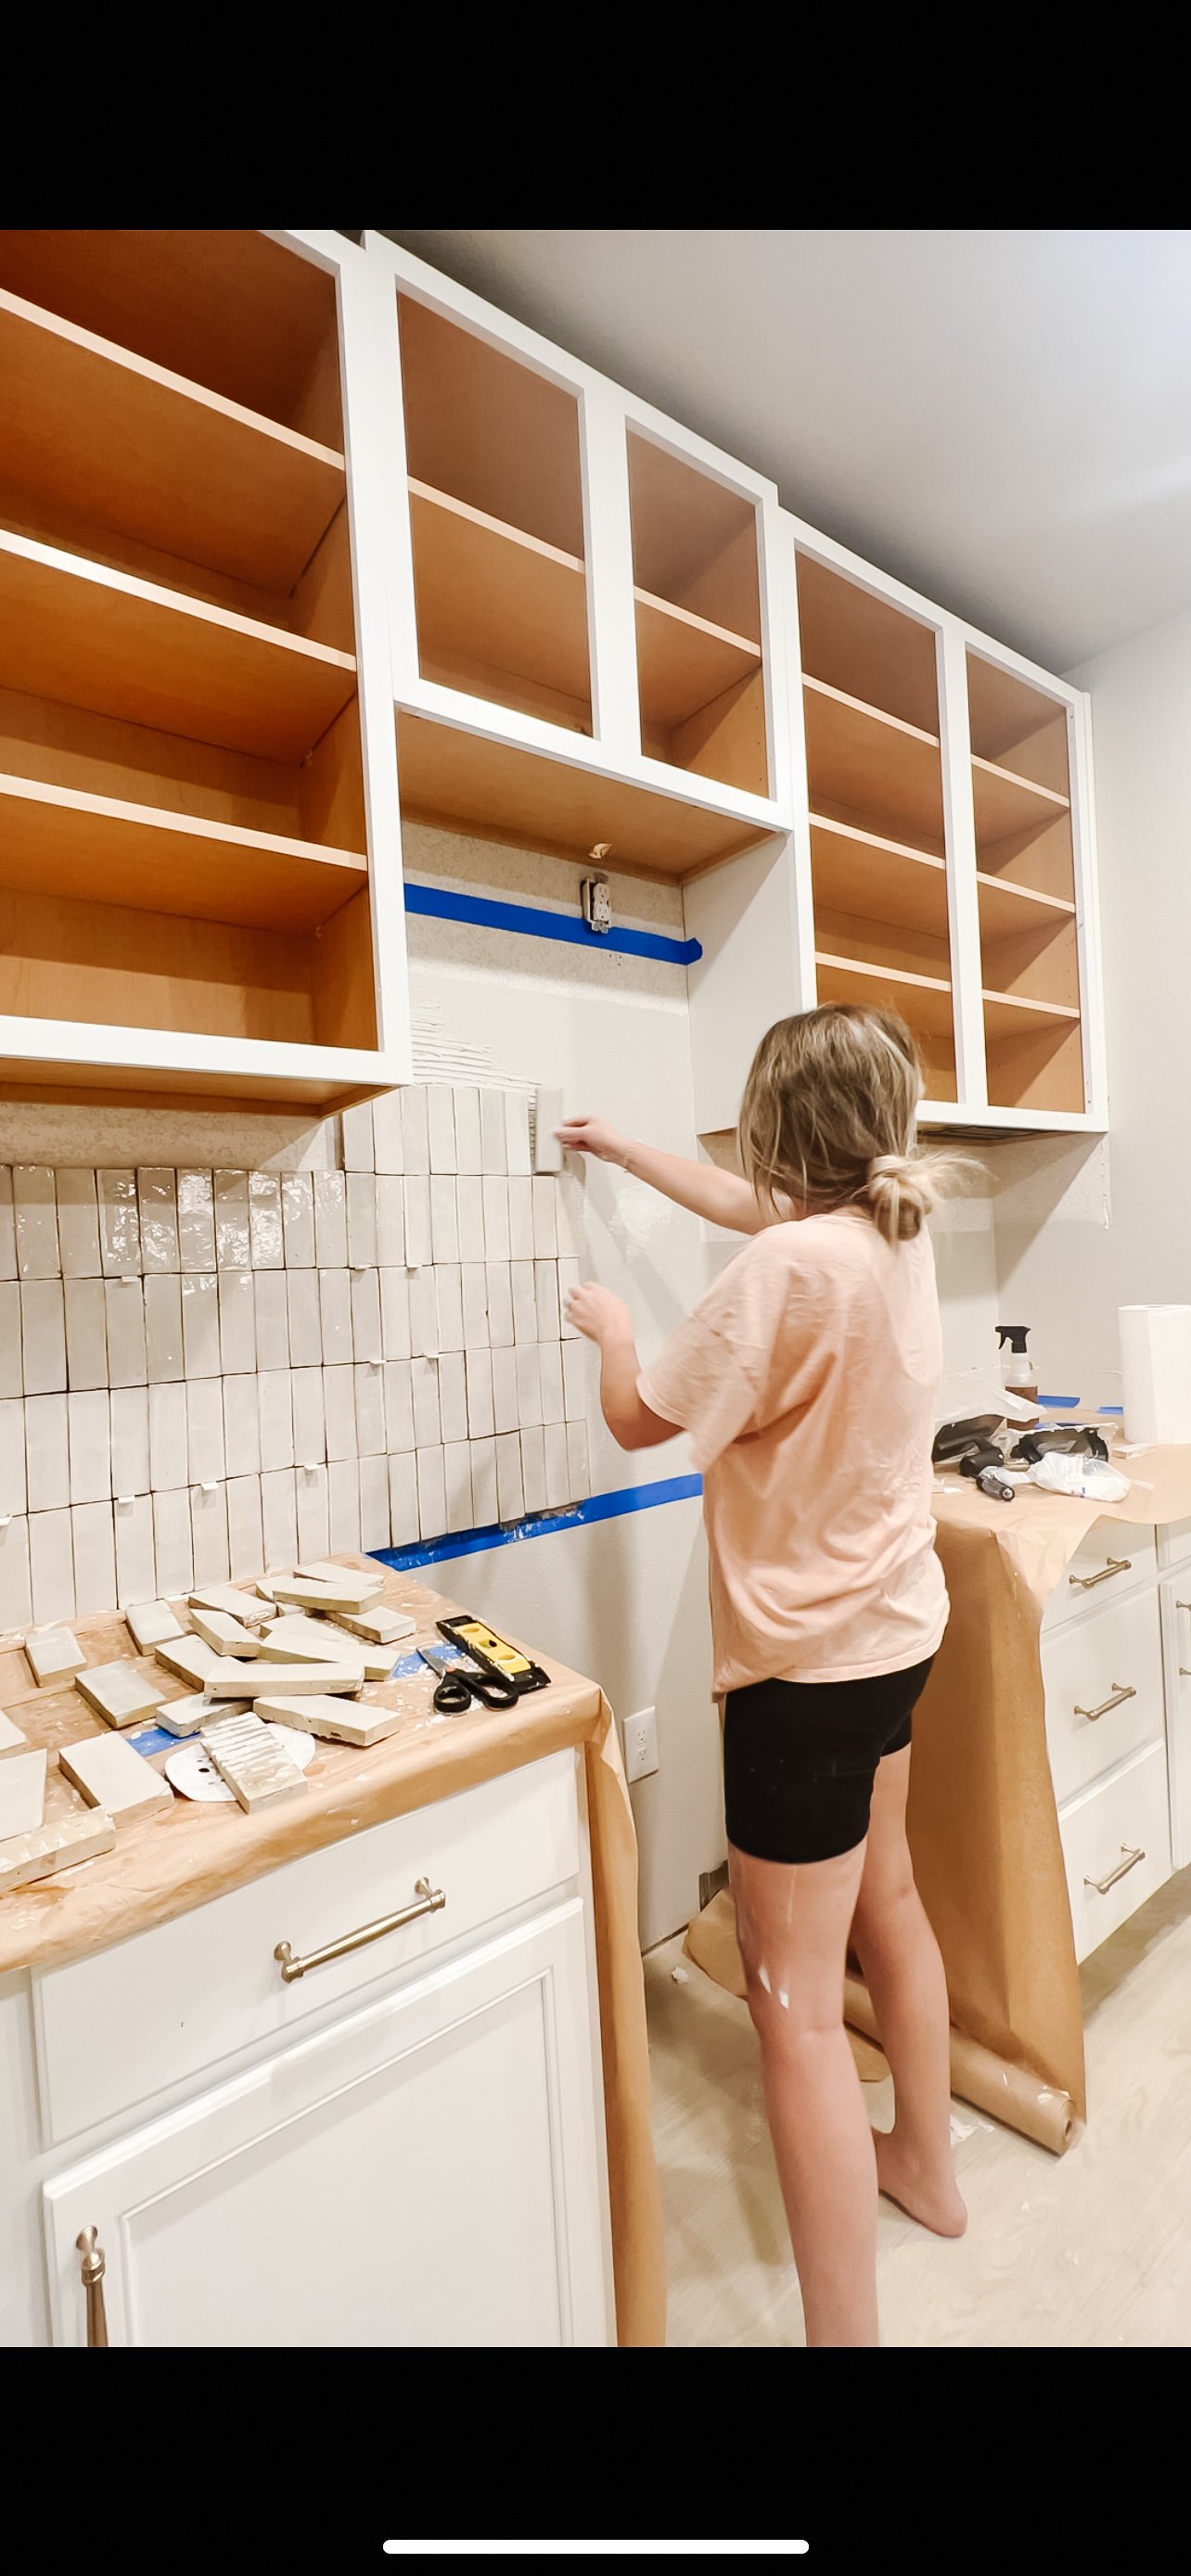
Backsplash: From Bland to Bam!
We finally laid the finishing touches on the backsplash on the fridge side of the wall, and let me tell you, it's a game-changer! The backsplash is officially complete, and let me tell you, it's a showstopper! We used a wet saw to conquer those tricky edge pieces and outlets, and the result is pure tile perfection. Achieve those crisp edge cuts around the outlets and appliances result in pure kitchen magic. ✨
Tools of the Trade:
Wet saw (Renting one is totally worth it for those clean lines!)
Your favorite tile selection (We went with a classic subway tile for a timeless look, but the possibilities are endless!)
BEHR PRO Interior Paint [link to Home Depot] (We chose a calming neutral shade to complement the countertops, but don't be afraid to get bold!)

Paint Prep: Primed for Perfection!
We're inching closer to the big reveal, and that means one thing – paint prep! We banished every bump and imperfection with some serious sanding, leaving the cabinets ready to embrace their final colorful transformation. Speaking of color, get ready for a jaw-dropping reveal in the next video. Hint: it involves [mention your chosen paint color and finish – matte black for drama? Soft grey for serenity?]. Trust me, you won't want to miss it!
With the sanding dust settled and everything smooth as butter, we're finally ready for that transformative coat of paint. We opted for the BEHR PRO 1 gal. #PWN-40 Elegant Ivory Dead Flat Interior Paint from Home Depot [link to Home Depot] because let's be honest, neutral walls never go out of style. Speaking of timeless essentials, Golden Harvest's 3 lb. Universal Wheat Paste (also from Home Depot [link to Home Depot]) is a DIYer's best friend for those inevitable wallpapering adventures. And for that final smoothing touch before paint day, the Bon Tool 16 in. x 4 in. Stainless Steel Razor Finishing Trowel with Camel Wood Handle (yep, you guessed it, Home Depot again [link to Home Depot]) is a game-changer.
Getting Ready for the Big Reveal:
Next time, we'll be transforming those tired cabinets with a fresh coat of paint and putting the finishing touches on all the little details. Stay tuned for the kitchen reveal you've been waiting for!
Don't forget to:
Give this post a big thumbs up and subscribe for more budget-friendly reno adventures!
Follow me on Instagram [@kenziemachome] for sneak peeks and behind-the-scenes action.
Shop my home decor must-haves on LTK [link to your LTK page].
Thanks for joining us on this journey! We can't wait to show you the final masterpiece. Until next time, happy hammering and stay fabulous!
P.S. Remember, some of the links in this post are affiliate links. This means I might earn a small commission if you click on them and make a purchase. But hey, that just helps fuel my DIY addiction and keeps the reno inspiration flowing!
Progress and Challenges: A Tale of Triumph and Crusties
Thanks for joining us on this journey! We can't wait to show you the final masterpiece. Until next time, happy hammering and stay fabulous!
P.S. Remember, some of the links in this post are affiliate links. This means I might earn a small commission if you click on them and make a purchase. But hey, that just helps fuel my DIY addiction and keeps the reno inspiration flowing!
Next Steps and Stay Tuned for More
Be sure to follow my social media channels for behind-the-scenes sneak peeks, DIY tips, and a healthy dose of renovation realness!
The Transformation
We tackled these challenges head-on, implementing several key changes:
Replaced appliances: Sleek and modern appliances in neutral tones add a touch of luxury while improving functionality.
Painted cabinets: A fresh coat of paint in a calming shade transformed the cabinets, giving them a vintage feel and brightening the space.
Breathtaking backsplash: The pièce de résistance is the stunning zeilliege tile backsplash with its unique horizontal pattern. It adds a touch of Moroccan flair and visual interest.
Extended island: The expanded island provides more workspace and storage, making the kitchen more functional and inviting.
Smart storage solutions: Built-in shelves and organizers maximize space and keep everything clutter-free.
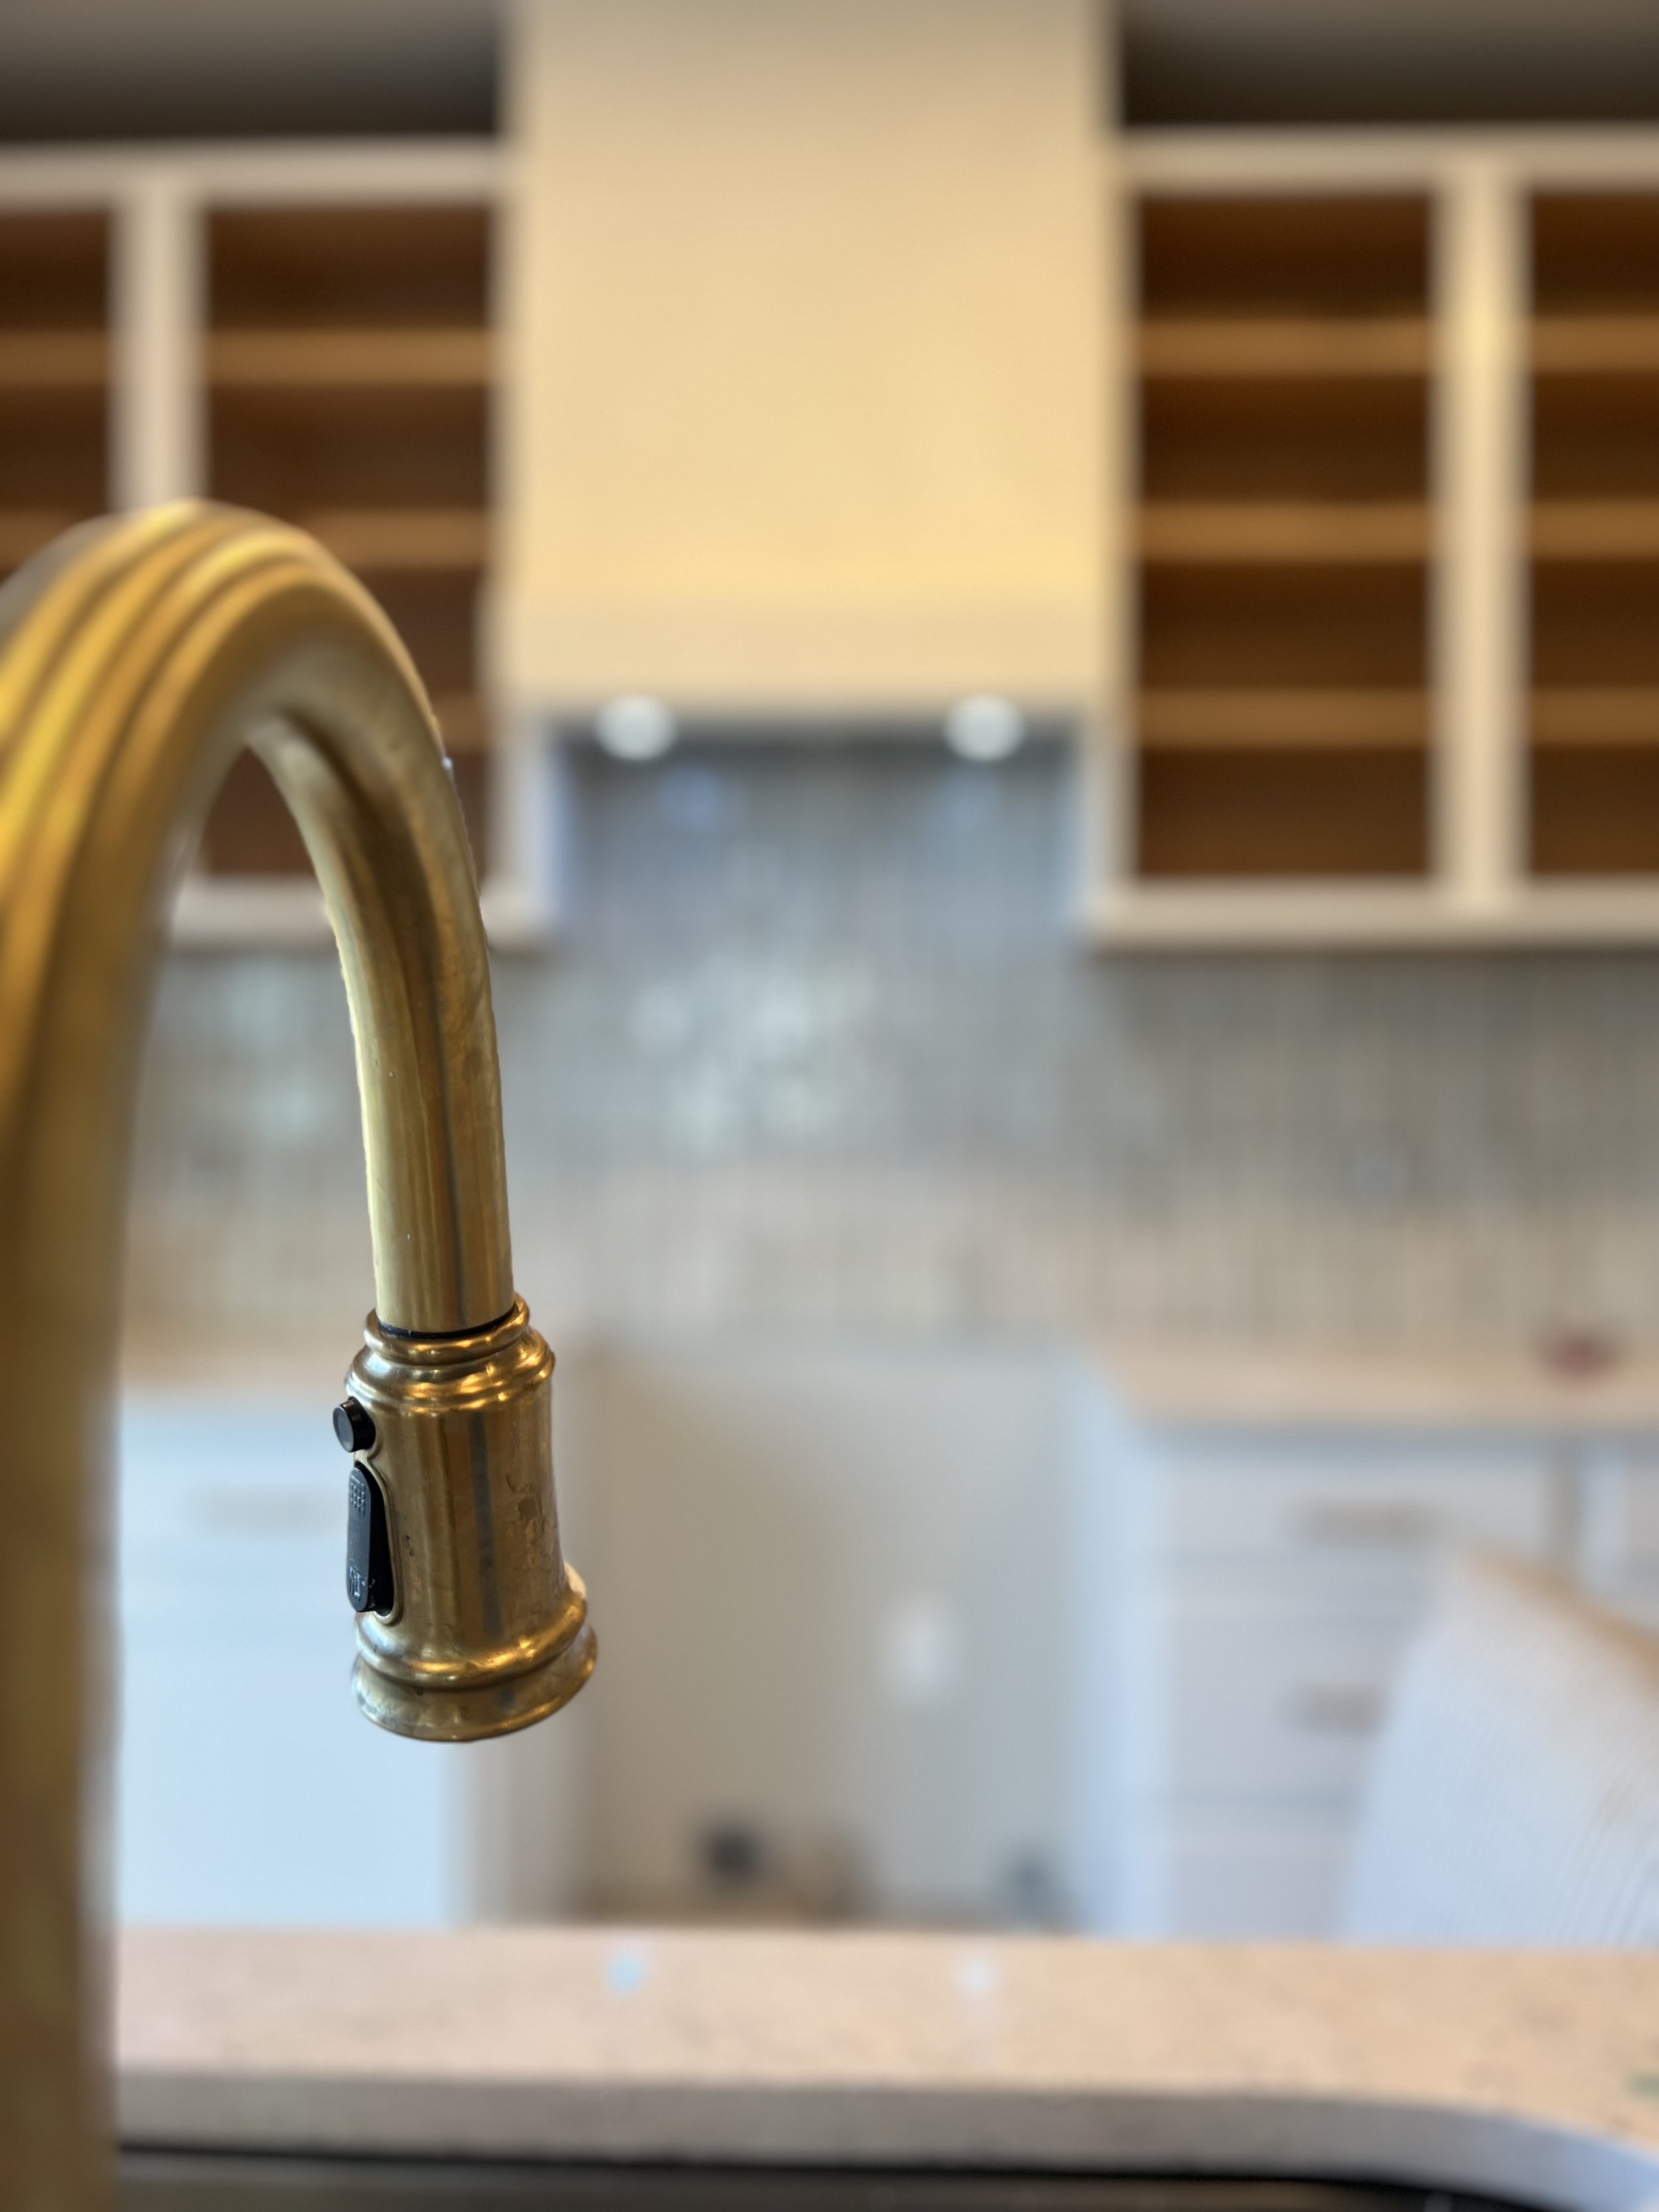
Replaced hardware: New hardware complements the vintage aesthetic and adds a polished touch.

The Impact
The result is a kitchen that is both beautiful and practical. The calming atmosphere makes it a joy to spend time in, while the smart storage solutions and improved functionality make it a dream to cook in.

This renovation proves that you can achieve a stunning transformation without breaking the bank. By focusing on key elements like vintage touches, smart storage, and clever design choices, you can create a kitchen that reflects your personal style and meets your needs perfectly.
Let’s work together.
Interested in working together? Click the button below for more info and we will be in touch shortly! We can't wait to hear from you!